

1 / 5
| Model NO. | Solar Panel Mounting Brackets |
| Material | Aluminum Alloy |
| Type | Pergola Bracket |
| Product Name | Solar Panel Mounting Bracket |
| Keywords | Solar Panel Brackets |
| Surface Treatment | Anodized/Aluminum Andized/Hot-DIP Galvanized |
| Bracket Material | Aluminum/Galvanized Steel/Carbon Steel/Metal |
| Product Application | Solar Panel Mounting/Ground/Tile Roof/Flat Roof |
| Installation Site | Roof/Rooftop/Metal Roof/Open Ground/Tin Roof |
| Wind Load | 60m/S, 45m/S, 40m/S, 42m/S or Customized |
| Snow Load | 1.4kN/M2, 1.8kN/M2 or Customized |
| Feature | Quick Installation/Adjustable/Easy Installation |
| MOQ | 100 Pieces |
| Production Capacity | 200000PCS/Month |
| Package Size | 40.00cm * 30.00cm * 25.00cm |
| Package Gross Weight | 15.000kg |
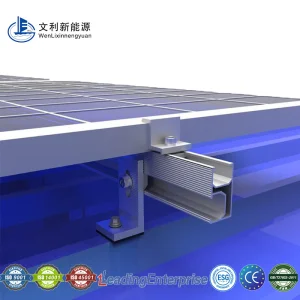
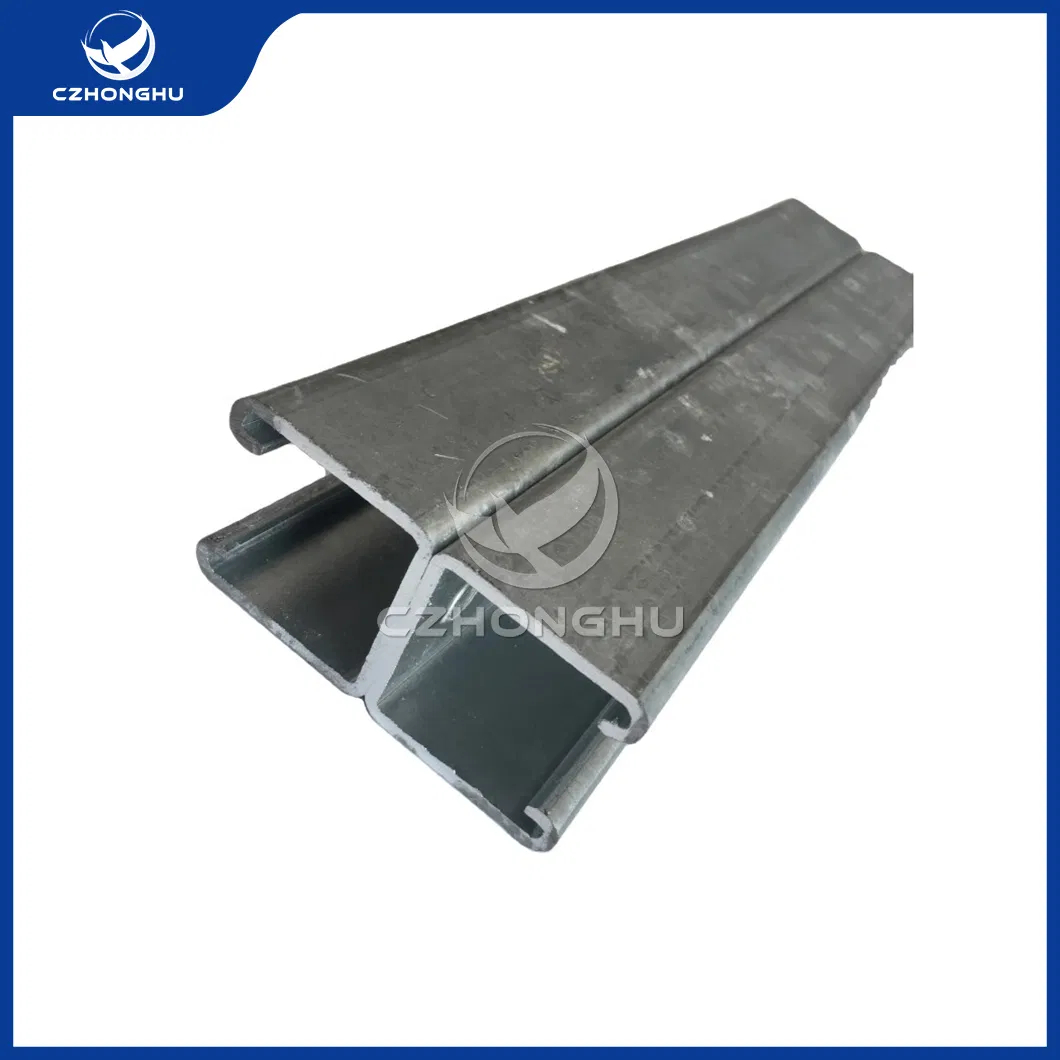
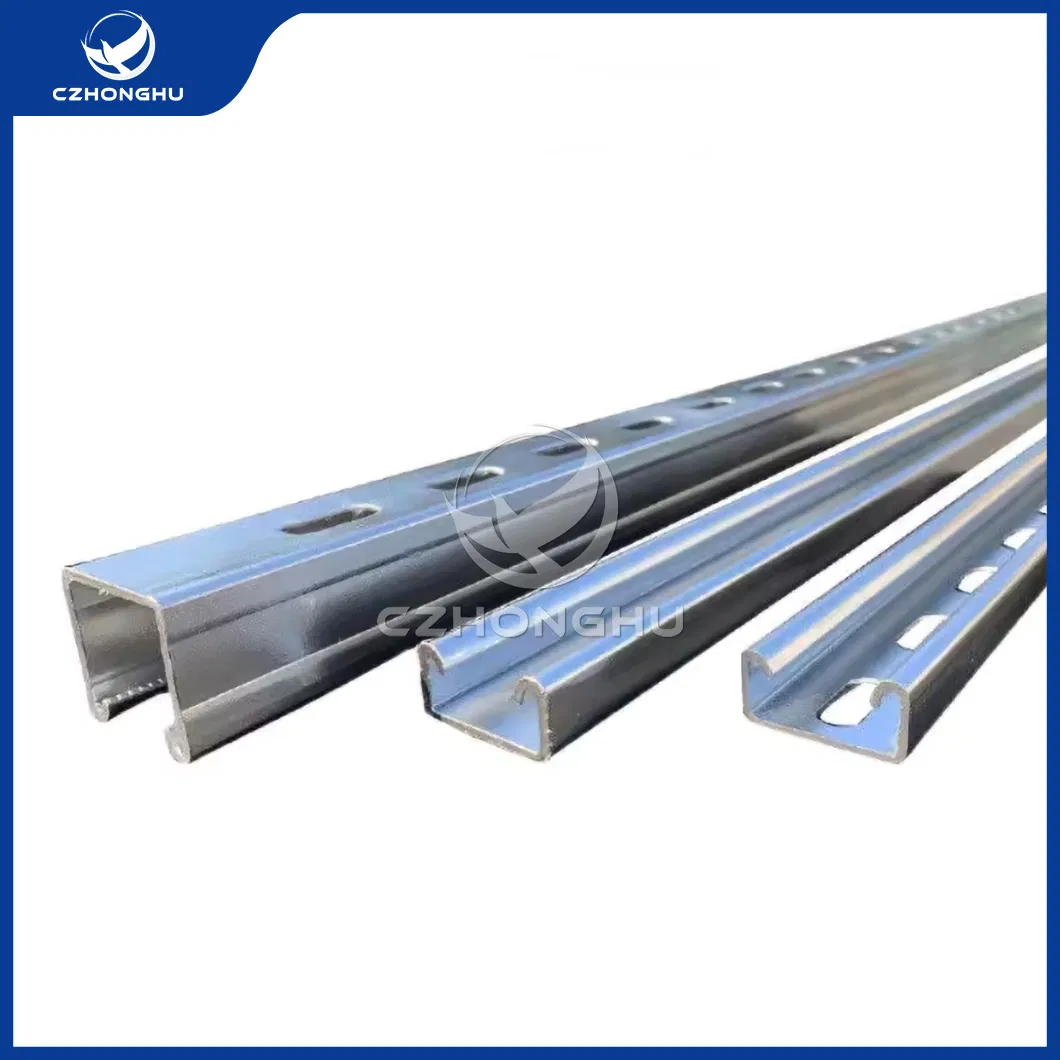
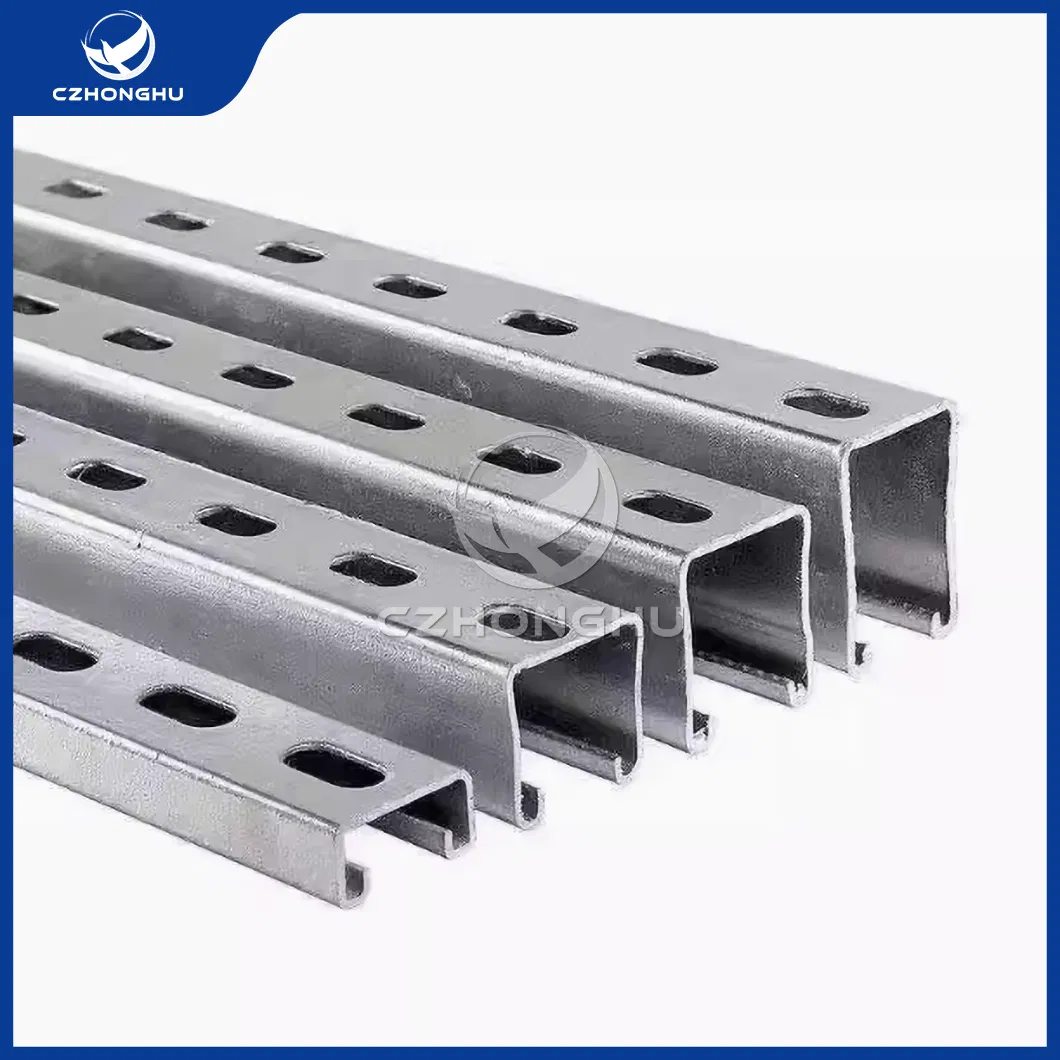
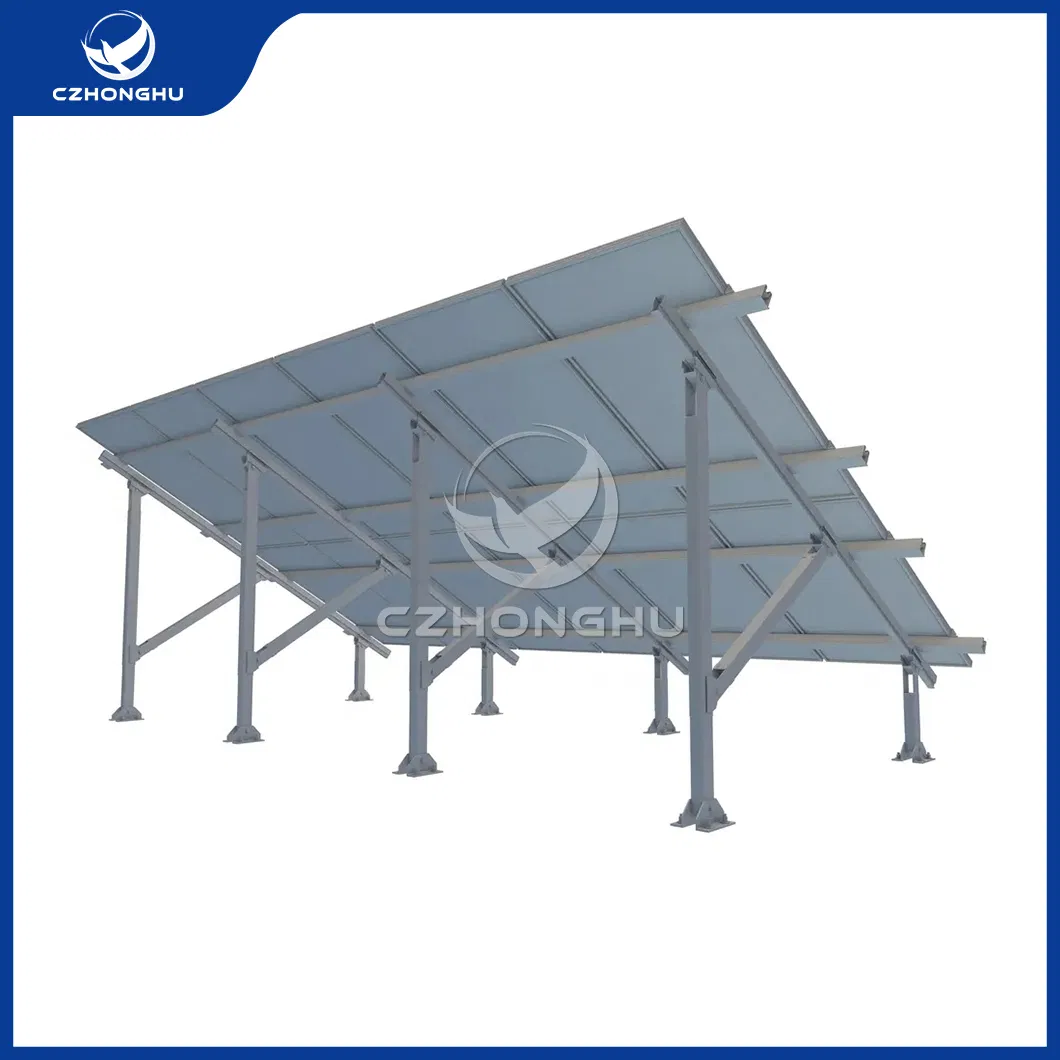
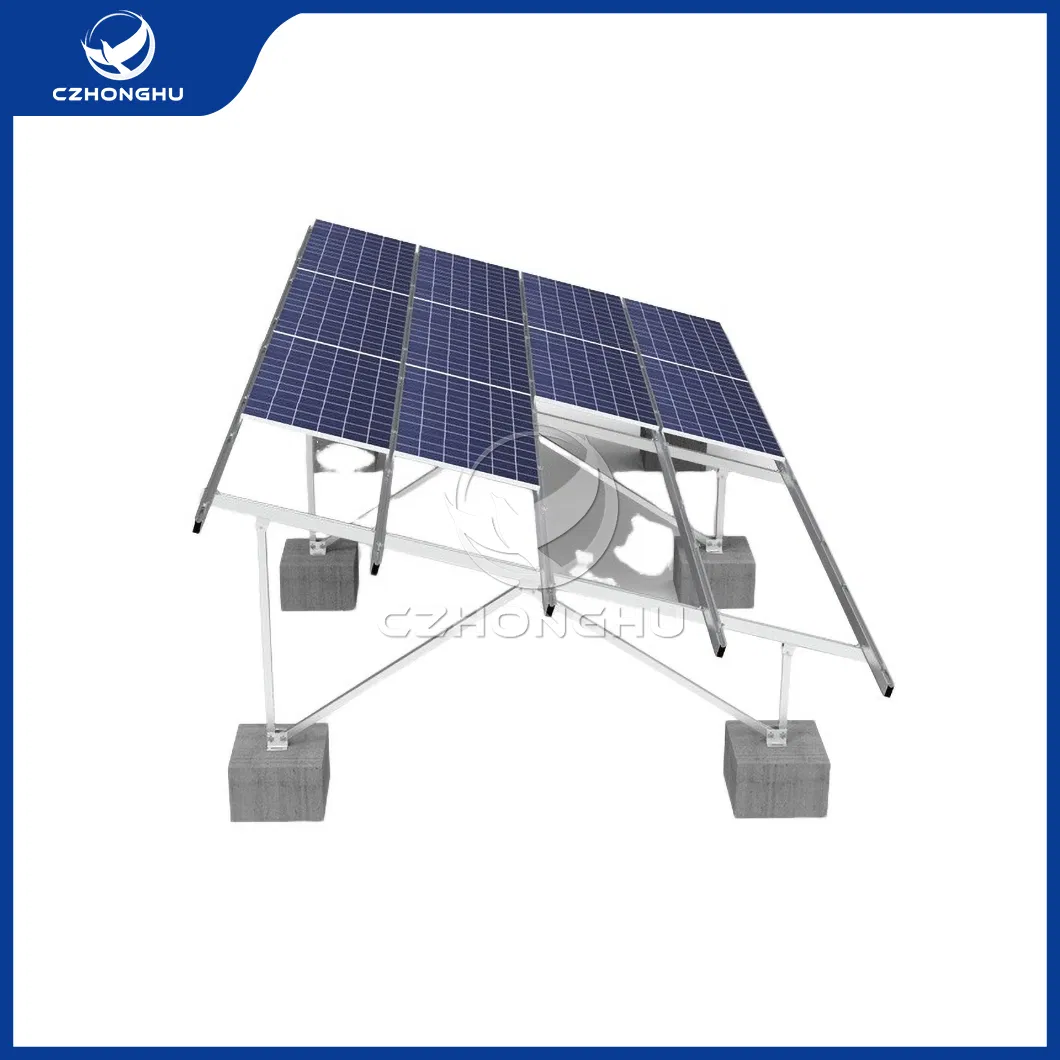
Solar panel mounting brackets are components used to secure solar panels in place and facilitate their installation on various surfaces such as rooftops, ground, or poles. These brackets are designed to support the weight of the solar panels and withstand environmental factors such as wind and weather conditions.

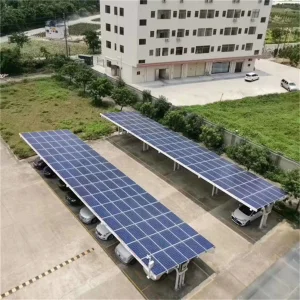
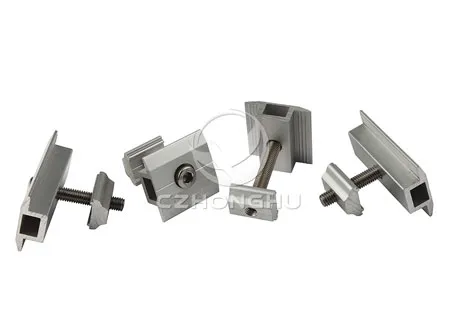
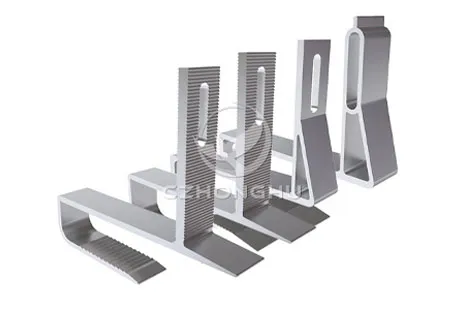
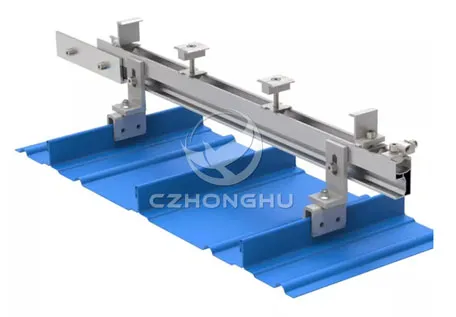
There are different types of mounting brackets available, each designed for specific installation scenarios. For example, rooftop mounting brackets are designed to securely attach solar panels to roofs using roof hooks, rails, and clamps. Ground mounting brackets are used for installation on the ground, using concrete foundations or frame structures to secure the panels. Pole mounting brackets are designed to mount solar panels on poles, providing a sturdy support structure.

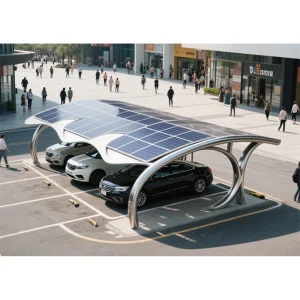
Space Saving: Roof solar panel mounting brackets are a great space-saving solution, especially if you do not have a lot of ground space available.
Adjustable: You can adjust the angle of the panels to face the direction of the sun, which can improve the efficiency of the system.
Long-Lasting: Designed to withstand harsh weather conditions, making them a durable and long-lasting solution.
Aesthetic Appeal: Brackets can be designed to blend seamlessly with the overall look of a building or rooftop, providing a professional appearance.
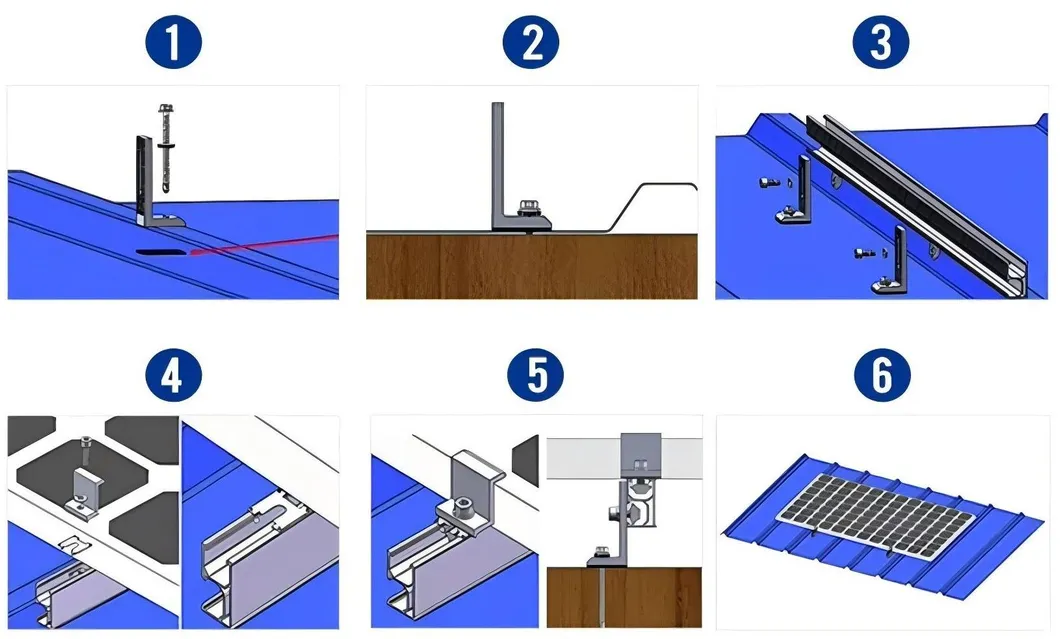
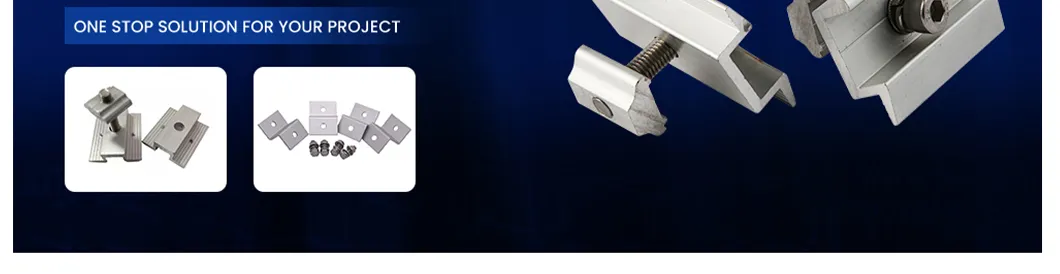
STEP 1: Drill a hole in the right position as planned, install the EPDM rubber and L-bracket, then screw the bolt into the wooden beam below.
STEP 2: Section of L-bracket after installation. Please be careful during installation, not destroy the steel below.
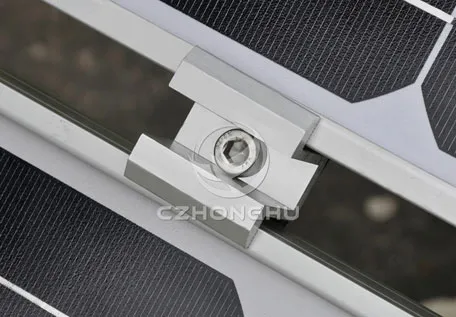
STEP 3: Mount the clamp and L-shaped bracket to the roof rail. Confirm and tighten the belts. Both rails must be on the same level.
STEP 4: The module is secured to the roof rail by end clamps. First, the panel is placed flat on the rail. Then the rail clip is snapped into the rail slot and finally, the end clamp kit is installed.
STEP 5: Portrait or Landscape adjustment based on solar panel width and length specifications.
STEP 6: L-bracket horizontal spacing can be up to 2m. Spacing between solar panels: 18mm.